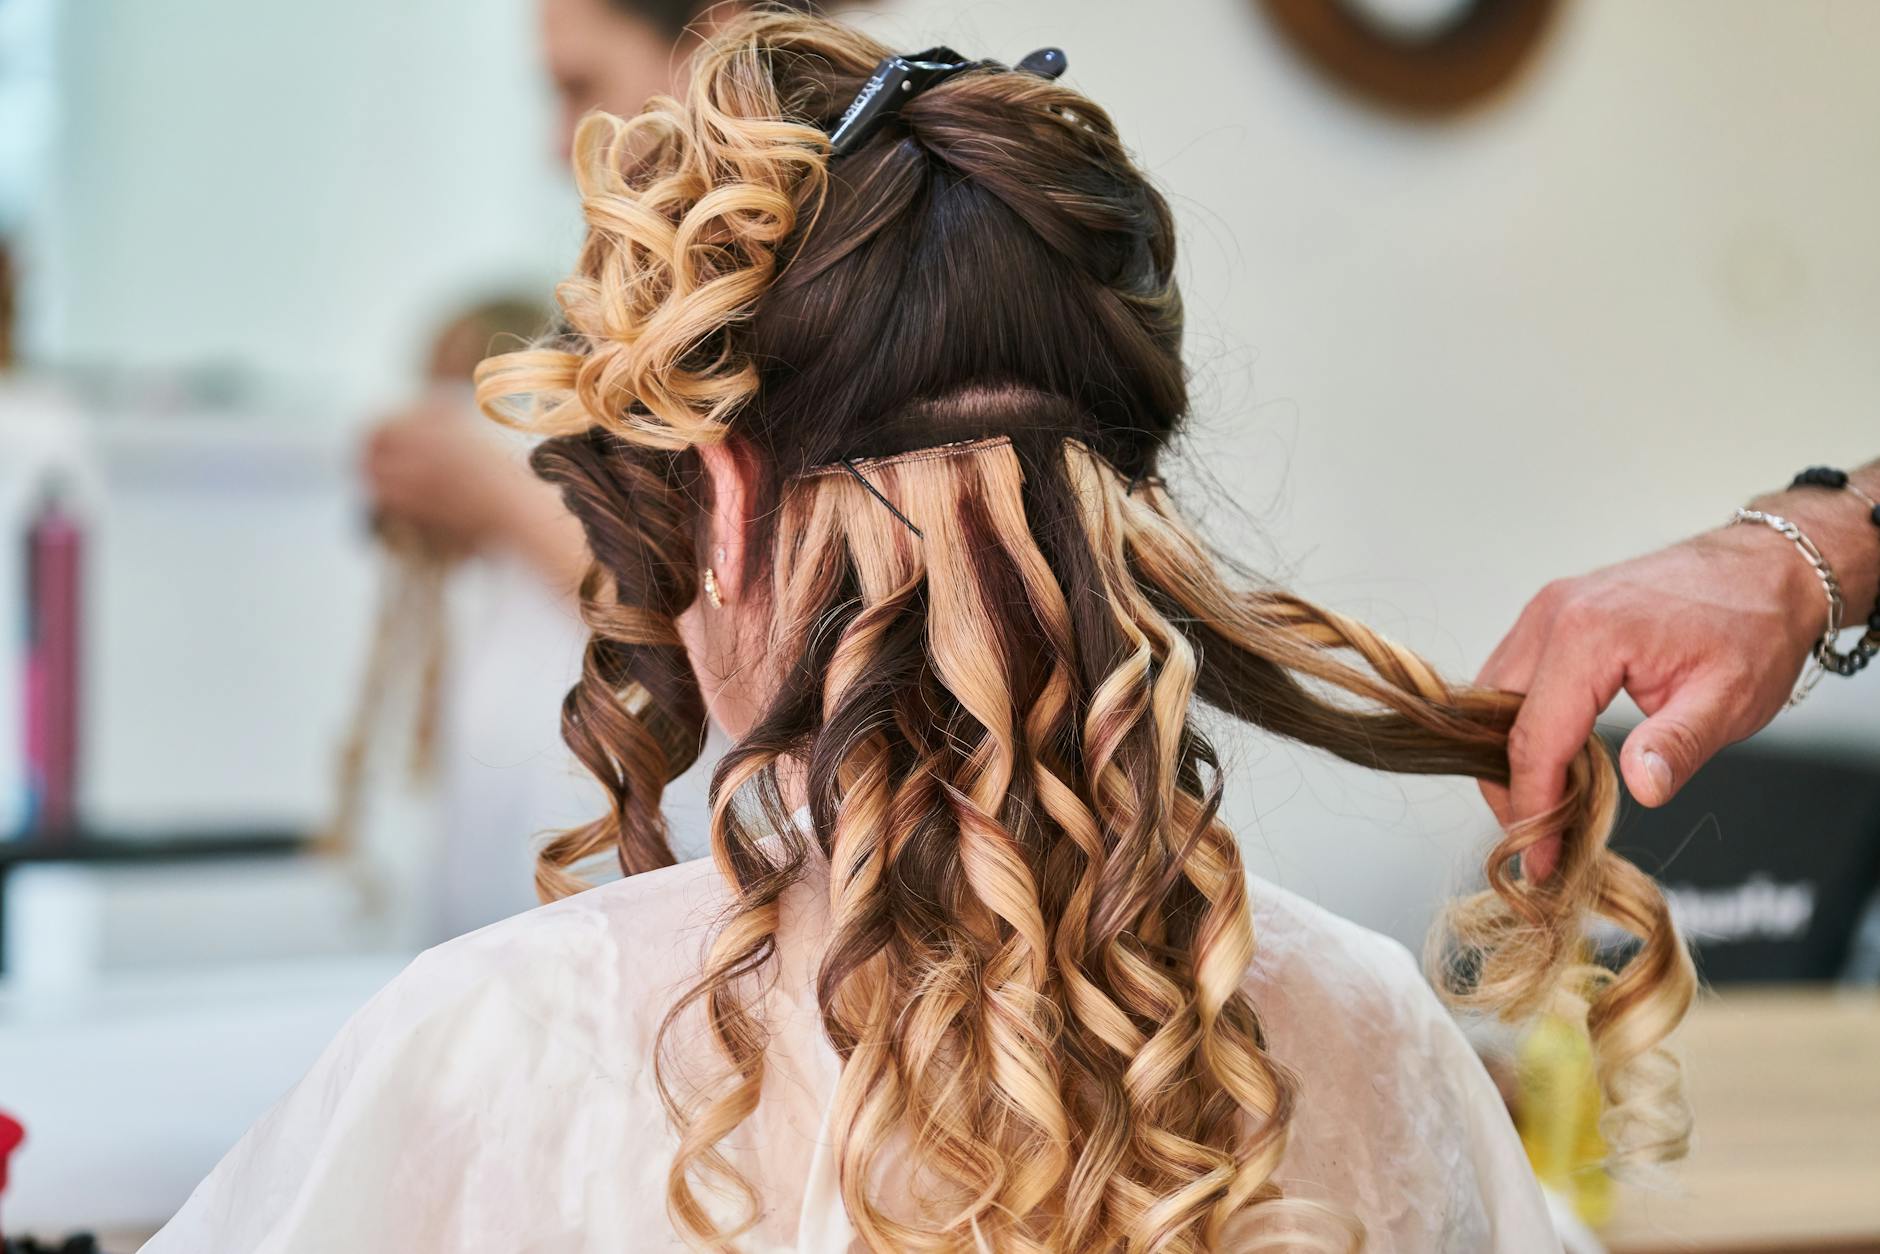
Hair Extension Photography: How to Shoot Before-and-Afters That Actually Book Clients
Your booking calendar doesn't grow from your technical skill alone — it grows from what prospective clients can see before they contact you. For extension specialists, that means before-and-after documentation is not optional content: it's the core marketing asset that determines whether a consultation converts to a booking. Here's how to build a photography system that produces consultation-ready images consistently without adding more than 10 minutes to each session.
Set Up a Repeatable Shooting Station in Your Suite
The biggest friction point in extension photography is setup time. If your lighting equipment lives in a closet, you'll shoot maybe two clients per month. If it's set up and ready, you'll shoot every extension client who agrees to be photographed.
A functional station for a salon suite: one 26-inch softbox on a floor stand positioned 3 to 4 feet from your client chair at 45 degrees, a neutral background (a standing white or grey backdrop, or simply a clean white wall), and your phone mounted on a tripod at seated head-height. Total equipment cost: $150–$250. Setup time after the first session: zero — it's already there.
Document the exact position of every element on day one. Take a photo of the full setup. When you move the stand or the backdrop for a different purpose, you have a reference to return to. Consistency across sessions is what makes your portfolio scannable — a client reviewing 20 of your before-and-afters can compare results directly because the conditions match.
The Before Shot Is Half the Marketing Asset — Treat It That Way
Most extension specialists photograph their afters with care and their befores as an afterthought. This is a conversion error. The before shot is what allows a prospective client to self-identify: "that looks like my hair." If they can't find their hair type, density, and starting length represented in your portfolio, they have no evidence your work applies to them.
Take the before shot in the same location, same lighting, same angle as the after. Client's hair should be clean, dry, and unstyled — just worn naturally. The point is neutral documentation, not flattering photography. A deliberately unflattering before (photographed under bad light, hair deliberately messy) is a manipulation that clients recognize, and it creates distrust in the relationship before the install even starts.
Build a simple intake question into your consultation form: "Do you consent to before-and-after photography for portfolio use?" Clients who say yes before the appointment have already mentally prepared, which means fewer awkward moments asking at the end of a 4-hour install. Your booking software — whether you use Hair Pro Appointments or another system — can store this consent flag directly on the client record so you never have to guess which clients are photography-ready.
Which Photos Actually Drive Consultation Bookings
Data from extension specialists across Facebook groups and online communities is consistent here: three photo types drive the overwhelming majority of consultation conversions.
Fine hair volume transformation. Fine-haired clients are the most underserved extension market and the most hesitant to book because they've been told "extensions won't work for your hair type." A well-documented fine-hair transformation — showing the before density and the after density — is the single highest-converting image type for a specialist who accepts fine hair clients.
The fix-it install. Before-and-after showing a client who had extensions done elsewhere, had a poor outcome (matting, visible bonds, uneven blendline), and had the problem corrected. This communicates technical competence in a way a clean install on perfect starting hair doesn't. Extension clients who've had a bad experience are a large and motivated market segment.
Density at length. A client going from shoulder-length, medium-density hair to 22–26 inches of full, wearable length. This addresses the most common aspirational request and shows that the result holds — it's not just a right-after-install photo but one taken a week later when the style has settled.
One photo of each type in your booking profile or consultation packet covers 80 percent of the objections you'll encounter. Add one new photo of each type per quarter and the portfolio compounds.
Connecting Your Photo Assets to Your Booking System
Photos don't convert clients sitting in a Google Drive folder they never find. The workflow that works: after each shoot, upload to a Google Drive folder organized by hair type and method (fine-tapein, medium-handtied, etc.), then embed a link to the relevant folder in the pre-consultation email you send to new inquiries.
If you're using Hair Pro 360 or Hair Pro Appointments for client management, you can attach portfolio links directly to your booking flow — a prospective client who clicks "book a consultation" can be routed through a brief intake form that ends with "here are before-and-afters on clients with similar hair to yours." That single touchpoint reduces the "I need to think about it" dropout rate that plagues extension consultation funnels.
The other use case for organized photo assets: consultation calls. When a client describes their hair in a video consult and you can screen-share a photo of a previous client with comparable hair, the conversation shifts from abstract to concrete. "This client had similar density and length and here's what we were able to achieve" is more persuasive than any description of what's possible.
Lighting Shortcuts That Work in Any Salon Setting
Not every suite has a window, and not every appointment time has good natural light. Here's the equipment shortcut list from least to most investment:
- $0: Position the client facing a window at golden hour (within 2 hours of sunset). Phone camera, portrait mode, no ring light. Results are inconsistent but occasionally excellent for social content.
- $40–$60: 10-inch ring light with phone mount. Adequate for Reels and Stories; circular catchlight in eyes reads as commercial content. Not ideal for consultation photography.
- $150–$200: 26-inch softbox on a floor stand with a 5500K daylight bulb. This is the standard. Consistent, flattering, accurate for color rendering. One-time purchase that will last years.
- $400–$600: Two-light setup (softbox key light + reflector or second fill light). Editorial quality. Justified if you're shooting content for other stylists or licensing images.
For most extension specialists, the $150–$200 softbox setup covers every use case. The ROI on one additional consultation booking per month — at average extension ticket prices of $1,200–$2,500 — makes the equipment cost negligible within the first month it's deployed.
Frequently Asked Questions
How do I get clients to consent to before-and-after photography?
Build the consent question into your intake form rather than asking in person. "Do you consent to before-and-after photography for portfolio and marketing use?" presented before the appointment, when clients are in planning mode rather than at the end of a 4-hour service, gets significantly higher yes rates. For clients who decline, respect it without discussion — this protects your relationship and your reputation.
Should I watermark my extension photos?
A small, non-intrusive watermark with your Instagram handle or website is reasonable for images posted publicly. A large, opaque watermark that obscures the hair itself undermines the purpose of the photo — clients can't evaluate work they can't see. The primary function of before-and-after documentation is demonstrating your skill, not protecting against image theft. Modest handle attribution is sufficient.
How many before-and-afters do I need before opening consultations?
Ten well-documented before-and-afters covering at least three hair types (fine, medium, thick) and two methods are enough to support a consultation practice. The goal is not a complete catalog but a representative sample. A stylist with 10 excellent photos converts more consultations than a stylist with 50 mediocre ones — quality and specificity matter more than volume.
Build the System Once, Then Let It Compound
Extension photography is a system problem more than a skill problem. The stylists who build the strongest portfolios are not the most naturally talented photographers — they're the ones who set up their station once, developed a 10-minute end-of-session photography habit, and let the compound interest run for 12 to 24 months. Five documented installs per month is 60 per year. At two years, you have a portfolio that covers every starting condition your ideal client brings to the chair.
Set up the equipment today. Shoot the next five willing clients. The booking calendar returns will follow.